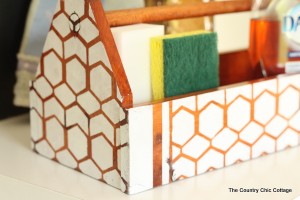
Painted Wood Caddy with Chalk Paint
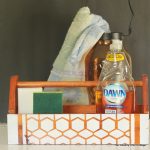
See how I made this painted wood caddy to use as a mudroom cleaning caddy. Brighten up your cleaning workspace with this easy craft project!
Equipment
- Cricut Maker or Cricut Explore Air
What You Will Need
- Vinyl
- Transfer tape
- Chalk paint
- Wood caddy
- Pouncer brush
- Stencil adhesive (if not using stencil vinyl)
- Weeding tools (if using stencil vinyl)
- Transfer tape (if using stencil vinyl)
- Scraper (if using stencil vinyl)
- Americana Decor Creme Wax
Instructions
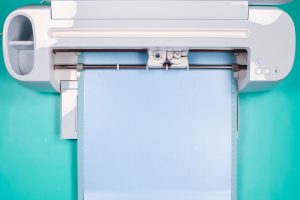
- First, use your Cricut to design and cut your stencil for your caddy. You can upload an SVG to Design Space or design right in the application.You can use stencil vinyl, regular vinyl in any color, or even contact paper.See how to make your own stencil with a Cricut here
- Once you have your design, cut it from stencil vinyl or even a stencil film to make a reusable stencil. Click make it in Design Space. Then pick the type of material you are using for the correct cut settings. Cut the material with your Cricut.
- If you are using stencil vinyl, make sure to weed any parts that you want to paint on your caddy. If you are using stencil film, the stencil is ready for painting!
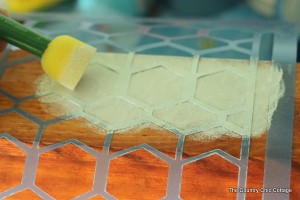
- Spray the back of the stencil with removable stencil adhesive (do this outside!). Lightly tack to your surface and pounce with a brush and chalk paint.Readjust the stencil to the next area to be covered. In my case, I covered all of the sides but left the ends and inside unpainted.
- Allow the paint to dry completely before using the caddy. You can wax with Americana Decor Creme Wax to get a glossier sheen and protect your work.